
Preferably before you expose any wiring; otherwise you'll be reminded of the need to do so by a loud spark like I was, or worse yet, a nasty shock.
At this point, with the old fixture off the ceiling, I gently cleaned the new fixture with a scrub pad and a toothbrush. I didn't want to make it immaculate, but I did want to remove the decades of dust that had accumulated in various spots. Toothbrushes and scrubbing pads probably shouldn't really be used on a painted fixture like this, but I was extremely careful to be as gentle as possible.
Once cleaned, it was time for installation. The old fixture and the new fixture both attached to the electrical box by screwing on to the nipple (a lamp nipple is a hollow threaded screw that's used in the inside of table lamps to hold the pieces of the lamp together; it's also used to hold overhead lights to the ceiling). The metal tassel that hangs from the bottom is actually a screw cap. So the first task was to dry fit the new fixture to make sure the lamp nipple was the proper length.

I had to shorten the nipple half an inch to make it the right length. That was easily done with a battery powered hacksaw.

Once the nipple was in place, I used wire nuts and electrical tape to connect the leads.
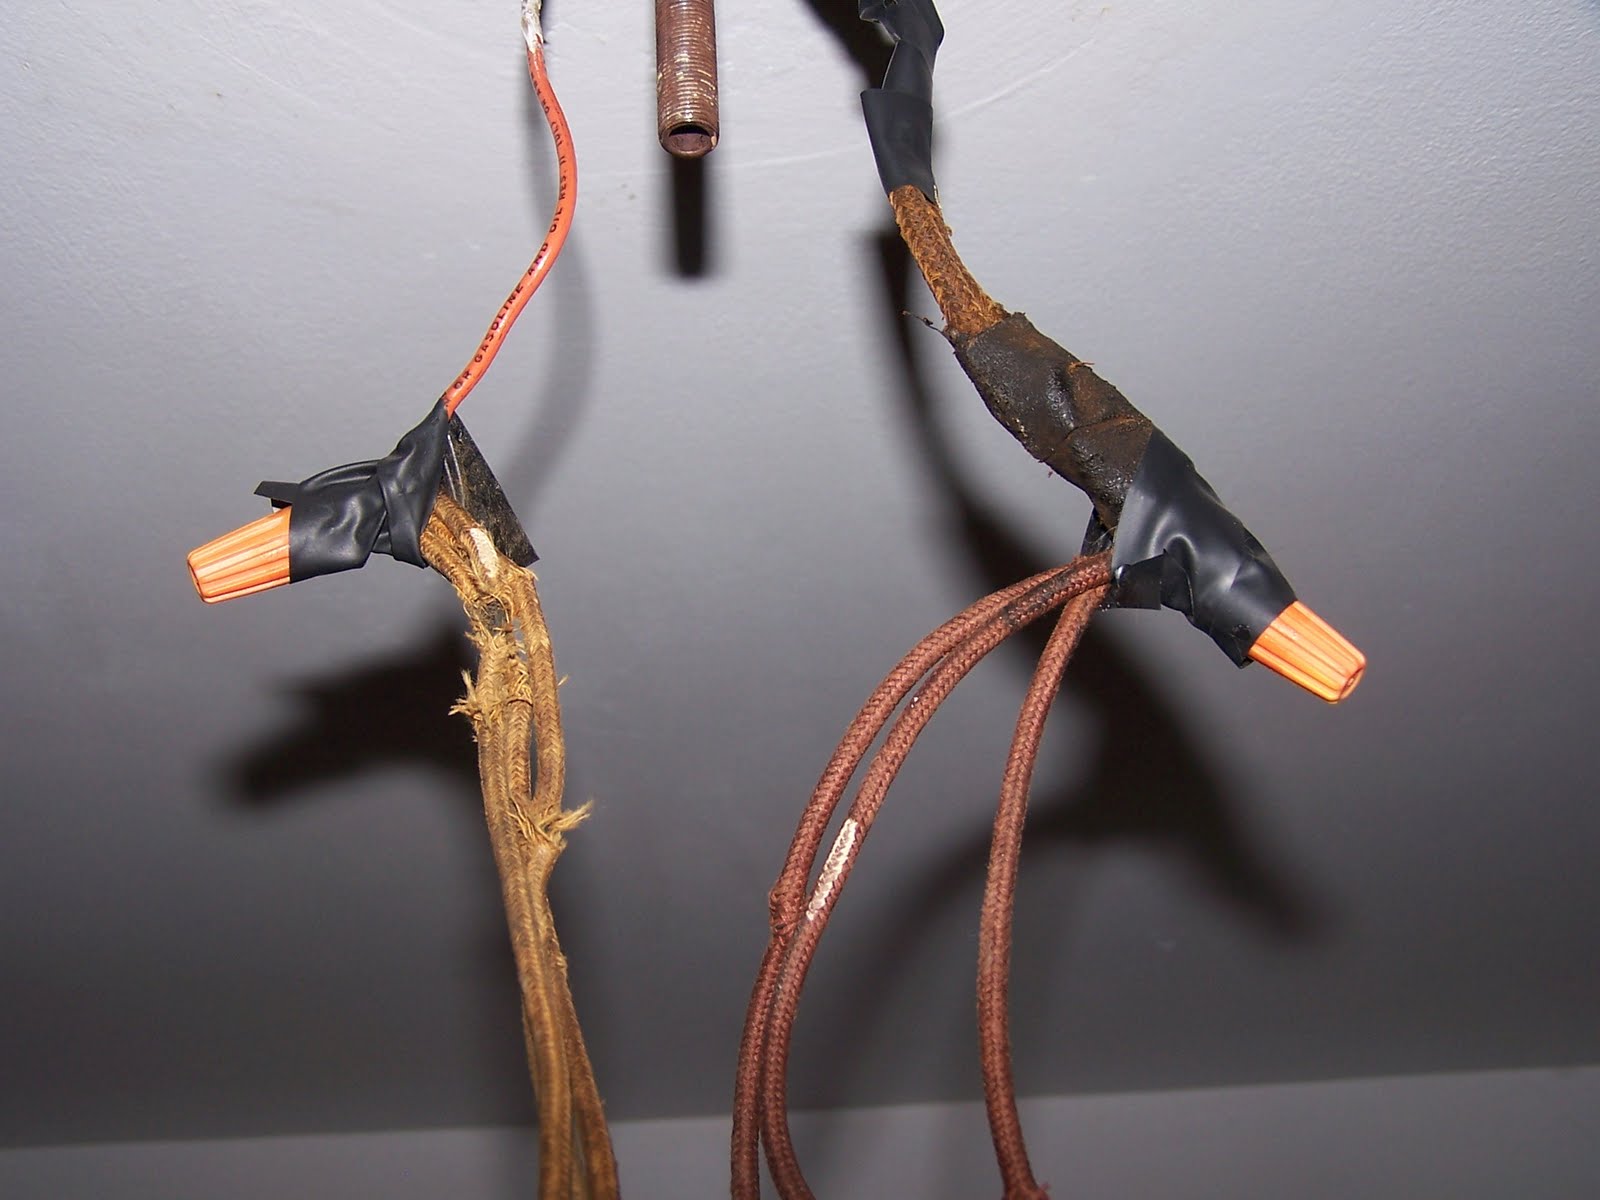
The fixture wires, and the house wiring, are the original cloth covered conductors.
Pretty scaring looking... One day soon I need to rewire the bungalow.
At this point I turned the power on to make sure the lights worked, before I screwed the fixture down.

I find there's always a bit of arranging needed to get the wires pushed into place, so the fixture will set flush with the ceiling. That step was easier with this fixture, since there's a lot of room in the hollow base to hide the wiring.
The last step was screwing the base onto the lamp nipple. This is harder than it looks. You've got to look through the screw hole in the base to see the lamp nipple, so you can guide the fixture into place. Once it's lined up properly, the nipple protrudes through the hole just enough to hold the screw cap.

I screwed on the decorative tassel, and the job was complete. The whole process took me about an hour and a half to complete.
This fixture was originally designed with naked incandescent light bulbs in mind. That's not something you see very often in modern lighting, but it was fairly common with decorative fixtures from the twenties and thirties. A few months before, I'd found some clear incandescent bulbs at the local thrift store (99 cents for a pack of six bulbs, that's a great deal), so now I had a good opportunity to use them.

Light fixtures are easy to install, and lots of fun to collect. My Craiglist contact also had another little gem I couldn't resist buying:

It's lovely, and it was only $20. I have no place to hang it, but I can't bring myself to put it on eBay, either.
No comments:
Post a Comment